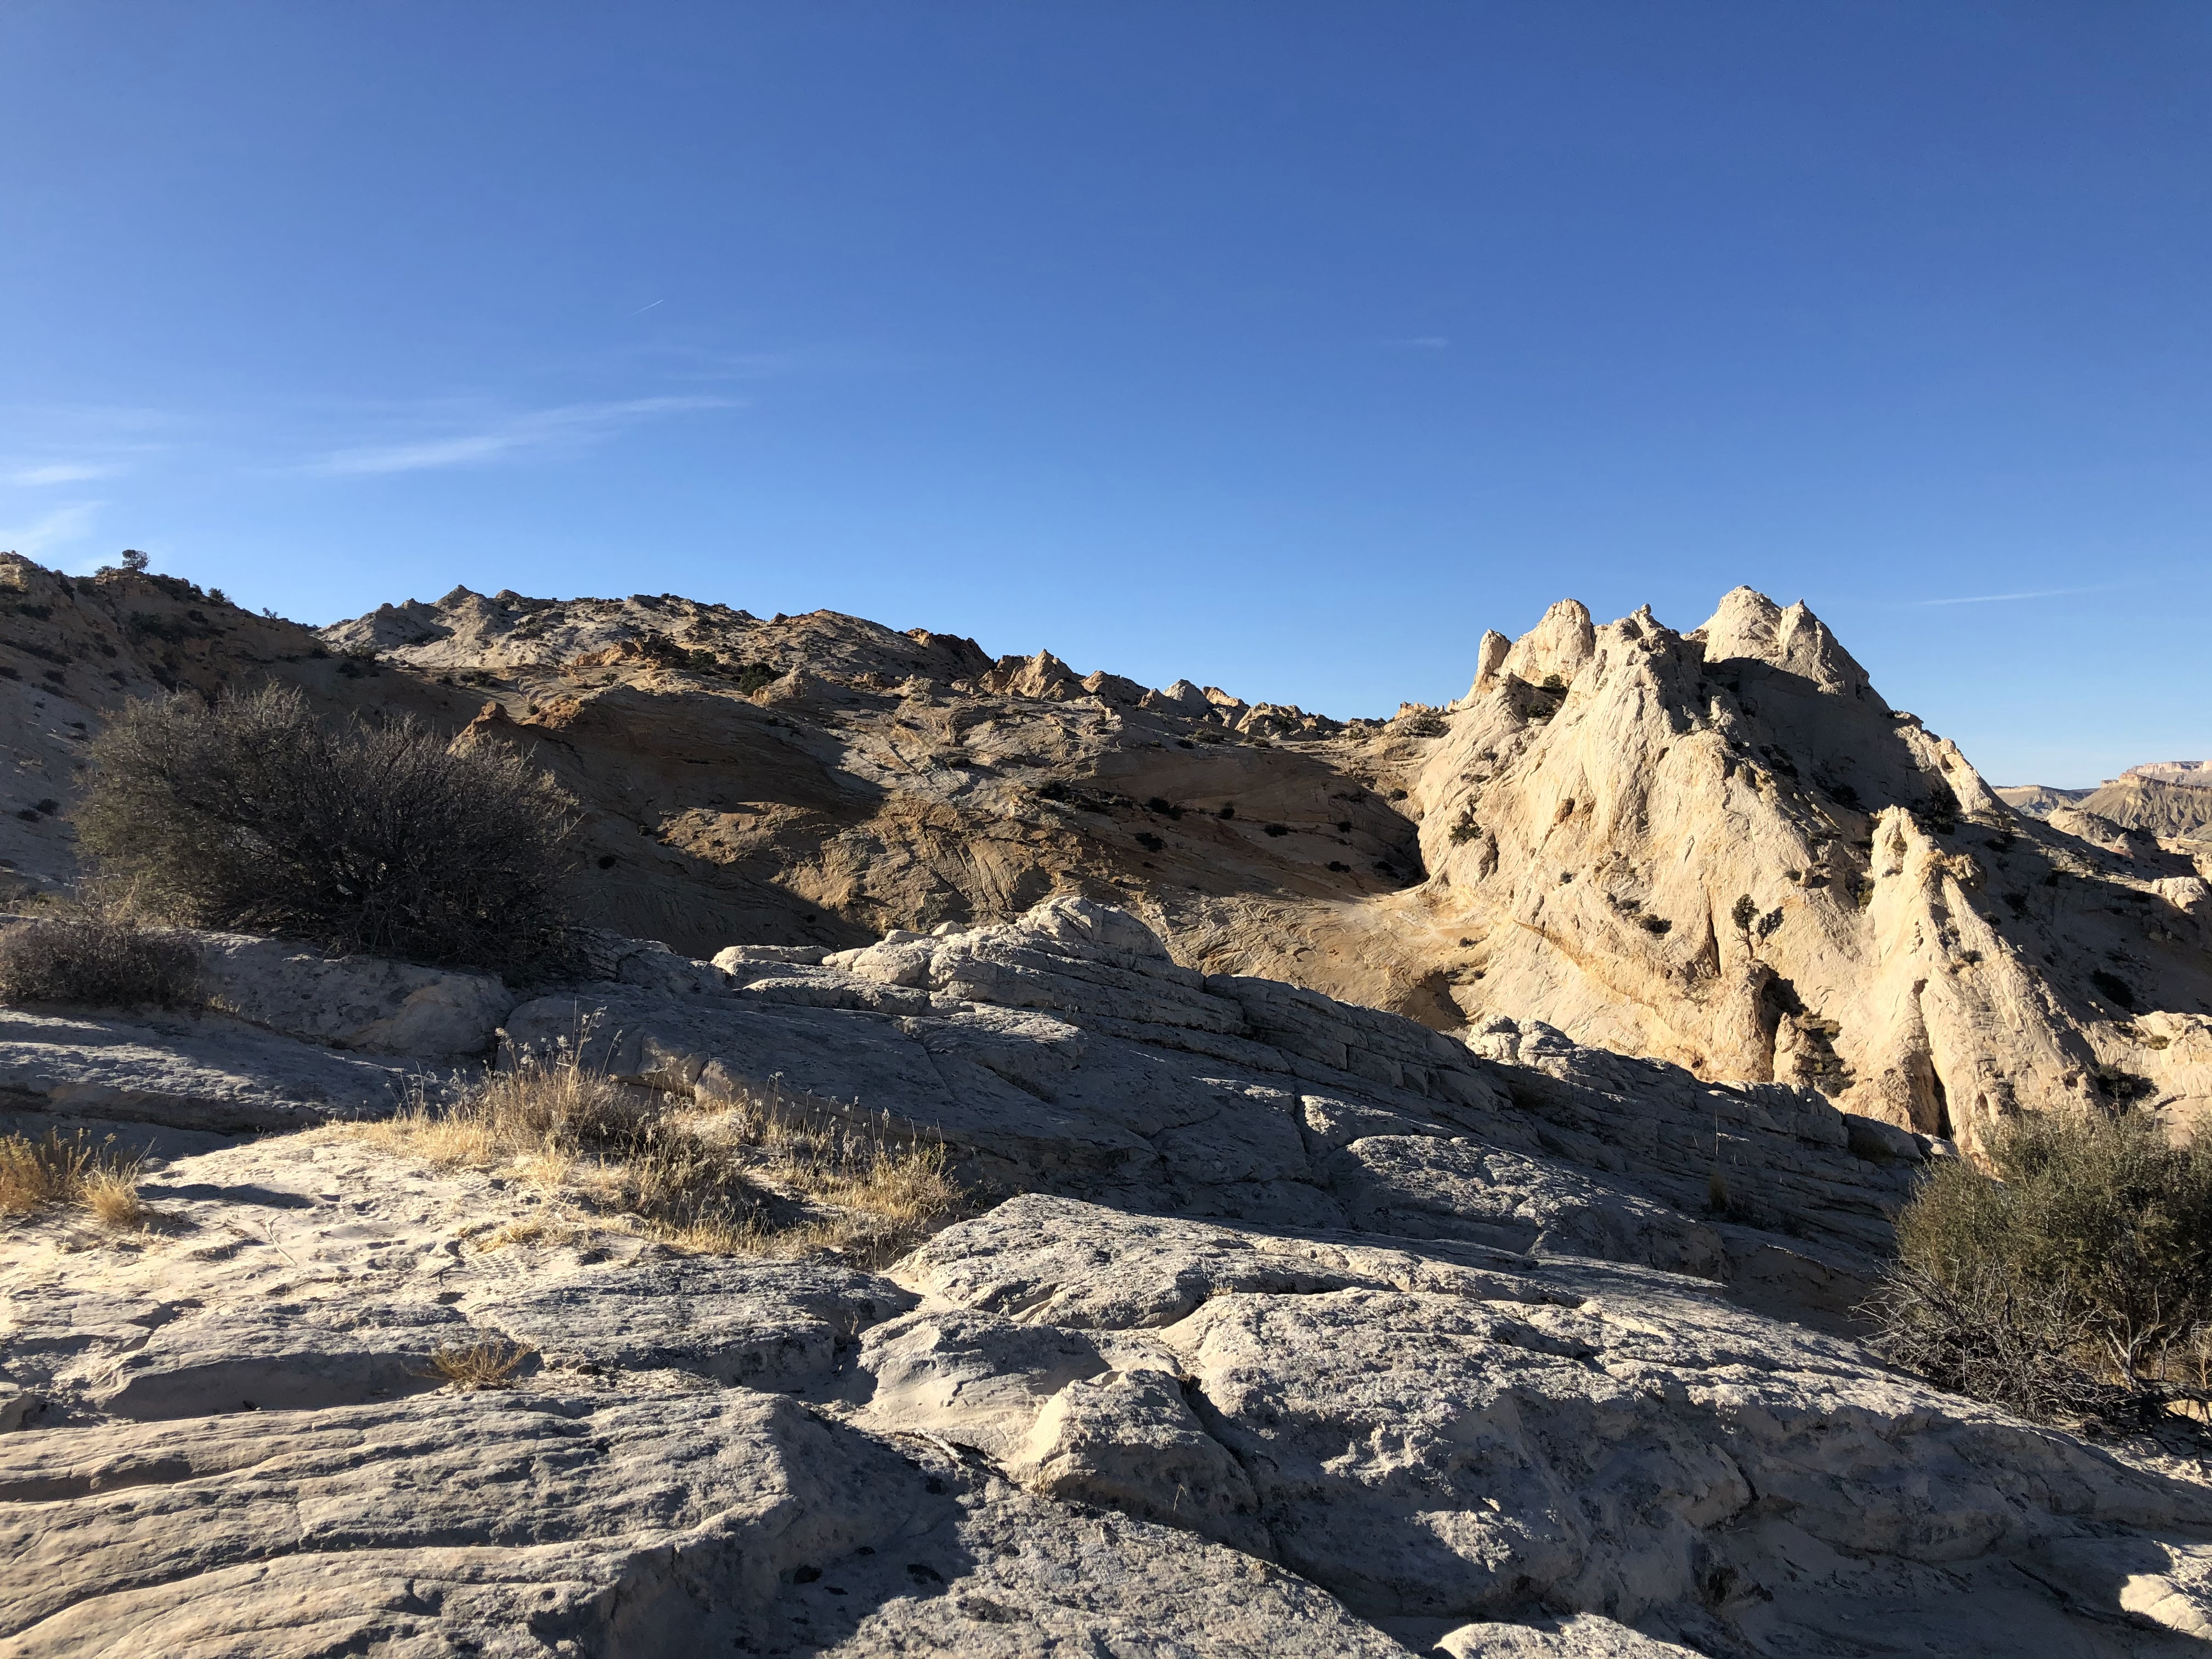
By January the COVID cabin fever was so bad that I made the decision to go for it. I used Andrew Skurka’s Hayduke bundle as a base for the portions of my route that were running along the classical route developed by Joe Mitchell and Mike Coronella. But I also knew that I wanted to incorporate some of Jamal’s variants and some of Nic Barth’s. Some of these choices I made were driven by the desire to minimize overlap with my WASU itinerary so that I would be passing through the largest amount of new territory possible.
From my experience with the GET maps I have learned that absolutely nothing prepares you as well for the adventure as making your own maps. I find myself way more mentally involved and aware if I make my own. And as you trudge along you will remember things you read during your prep that you just would not have read and reread and reread and committed to memory had you just bought a map set.
As the winter ’20/’21 and Spring ’21 had been dry I anticipated more and longer water carries than in ’19. As I intended to cache food along the route, I opted for more rather than fewer caches and included water in most of them as well as maps, fuel and TP.
Arches to Needles (Canyonlands NP)
I flew from Denver to Canyonlands airport on US 191 North of Moab where I repacked my pack in the terminal. They have potable water there, so that was easy and a big deal, actually, given the location. By 9 AM I was walking South to the railroad underpass which I passed through. I had placed a cache with fuel there.
I took a bearing and headed X-country to Burro seep which actually produced a small trickle of water. This was discharged into a trough completely overgrown and surrounded by a veritable moat of cow shit/piss slurpy. I was happy I had loaded up at the airport. Further X-country travel East brought me to a road which I followed North to the Klondike Cliffs TH. From there a faint trail leads to a mining adit shown on the maps to the Southeast and from there more X-country travel led me to the road that leads to the Tower Arch TH. Tower Arch was not exactly busy, but the lack of traffic was made up for by the obnoxiousness of the few people there.
From Tower Arch I found a somewhat non-ideal route past, rather than through, the Marching Men to the road that runs E-W South of the Marching Men. This gives you access to the "non-Salt Valley road" that runs South towards the pipeline ROW, West of Salt Valley proper. This is a gently meandering, up-and-down road on bedrock, compressed mud and through deep sand. You have the snow-covered Lasal mountains ahead of you to look at. Occasionally a 4 WD vehicle would pull up and, invariably, Dad would inquire how much longer the drive would last. I guess neither Mom nor the kids were too impressed with Dad’s wannabe Marine act.

A nice guy driving one of the commercial tours through the Arches backcountry stopped and shared some ice-cold water and a snack. He could not completely hide his opinion that my planned hike was ever so slightly nuts, and of course he was not entirely wrong.
When I reached the Western NP border by the pipeline ROW I found a campsite, some distance from the compressor station servicing the pipeline, that was sheltered from the blustery cold wind and turned in for the night.
Next morning I followed the pipeline East back into the park to Devil’s Garden. You can easily walk on the berm under which the pipeline is buried or right next it. There are some sandy stretches, some steep stretches and some sandy steep stretches, but it’s pretty straightforward. As you get closer to Devil's Garden you cross the Salt Valley Rd twice, first in a wash and then on a gentle slope as you start climbing towards the Fiery Furnace/Devil's Garden and the asphalted road. I opted for continuing on the X-country route rather than following the road. There is some scrambling of cliff bands to be done, but nothing fancy as long as you are patient in looking for weaknesses in the cliffs.

Eventually I stepped on the paved road near Skyline Arch and followed it towards the campground. The number of cars parked along the road gave me a good indication on how much of a zoo I was going to encounter at Devil’s Garden. It’s not quite as bad as Angel’s Landing in Zion, but man, it was busy!


I hiked the loop and once past Double O Arch traffic was ok, the little kids had apparently been exhausted. You are corralled in the first half of the way by fencing lest the hordes trample every last bit of vegetation. I can see why, yet it’s still not to my liking. I will return in late Fall maybe, when schools are in session and the traffic will hopefully be not quite as heavy.
After acquiring water for the evening and the next day near the campground I headed back West to the park border and stayed there for a second night. Next morning I headed South to Willow Spring along the fence. At some point a giant canyon opened up to my left and the convenient handrail, the fence, stops. Once you have found your way through the cliff to the wash below, the park border is not located where you might assume it to be. Gaia is your friend. The printed maps do not reflect the position of the park boundary accurately.
Eventually I stepped onto the slickrock wonderland that Nic Barth has pioneered as an alternative to hiking through Courthouse Wash. This alternative is attractive as you are not depending on backcountry permits that the park has not been issuing for reasons that have varied over the years. First it was a review of backcountry use, then it was resource limitations. Who has interest in dealing with the Feds’ bullshit?
Anyway, I took a bearing towards the location where you leave the slickrock and climb down to Courthouse Wash. As I headed Southeast a dune blocked my way and pushed me South. Once I reached the tip of said dune it became apparent that further East was another dune that reached farther South. So again I headed more South than Southeast only to find myself pushed even further South by a third dune. Eventually I could follow a pure East trajectory and then had to move North a bit to reach the point of descent through the cliffs. In other words, because I had not bothered to explore the terrain on Google Earth thoroughly, I took a more circuitous route than I should have. I should just have followed the bearing, dunes be damned!
The climb through the top cliff band was straightforward, as was the descent of the dune below it and the contour towards the right on a wide shelf. Coming around the nose in the cliff I came to the business end of the descent. Try as I might I just did not “see” how Nic and his buddy had gotten down where they showed to have gone down. I don’t doubt that they did, I just could not see how this could apply to me. It’s one of these situations where as a solo hiker you wished you had a buddy present with a second set of eyes that see what you do not. So I found my own way.


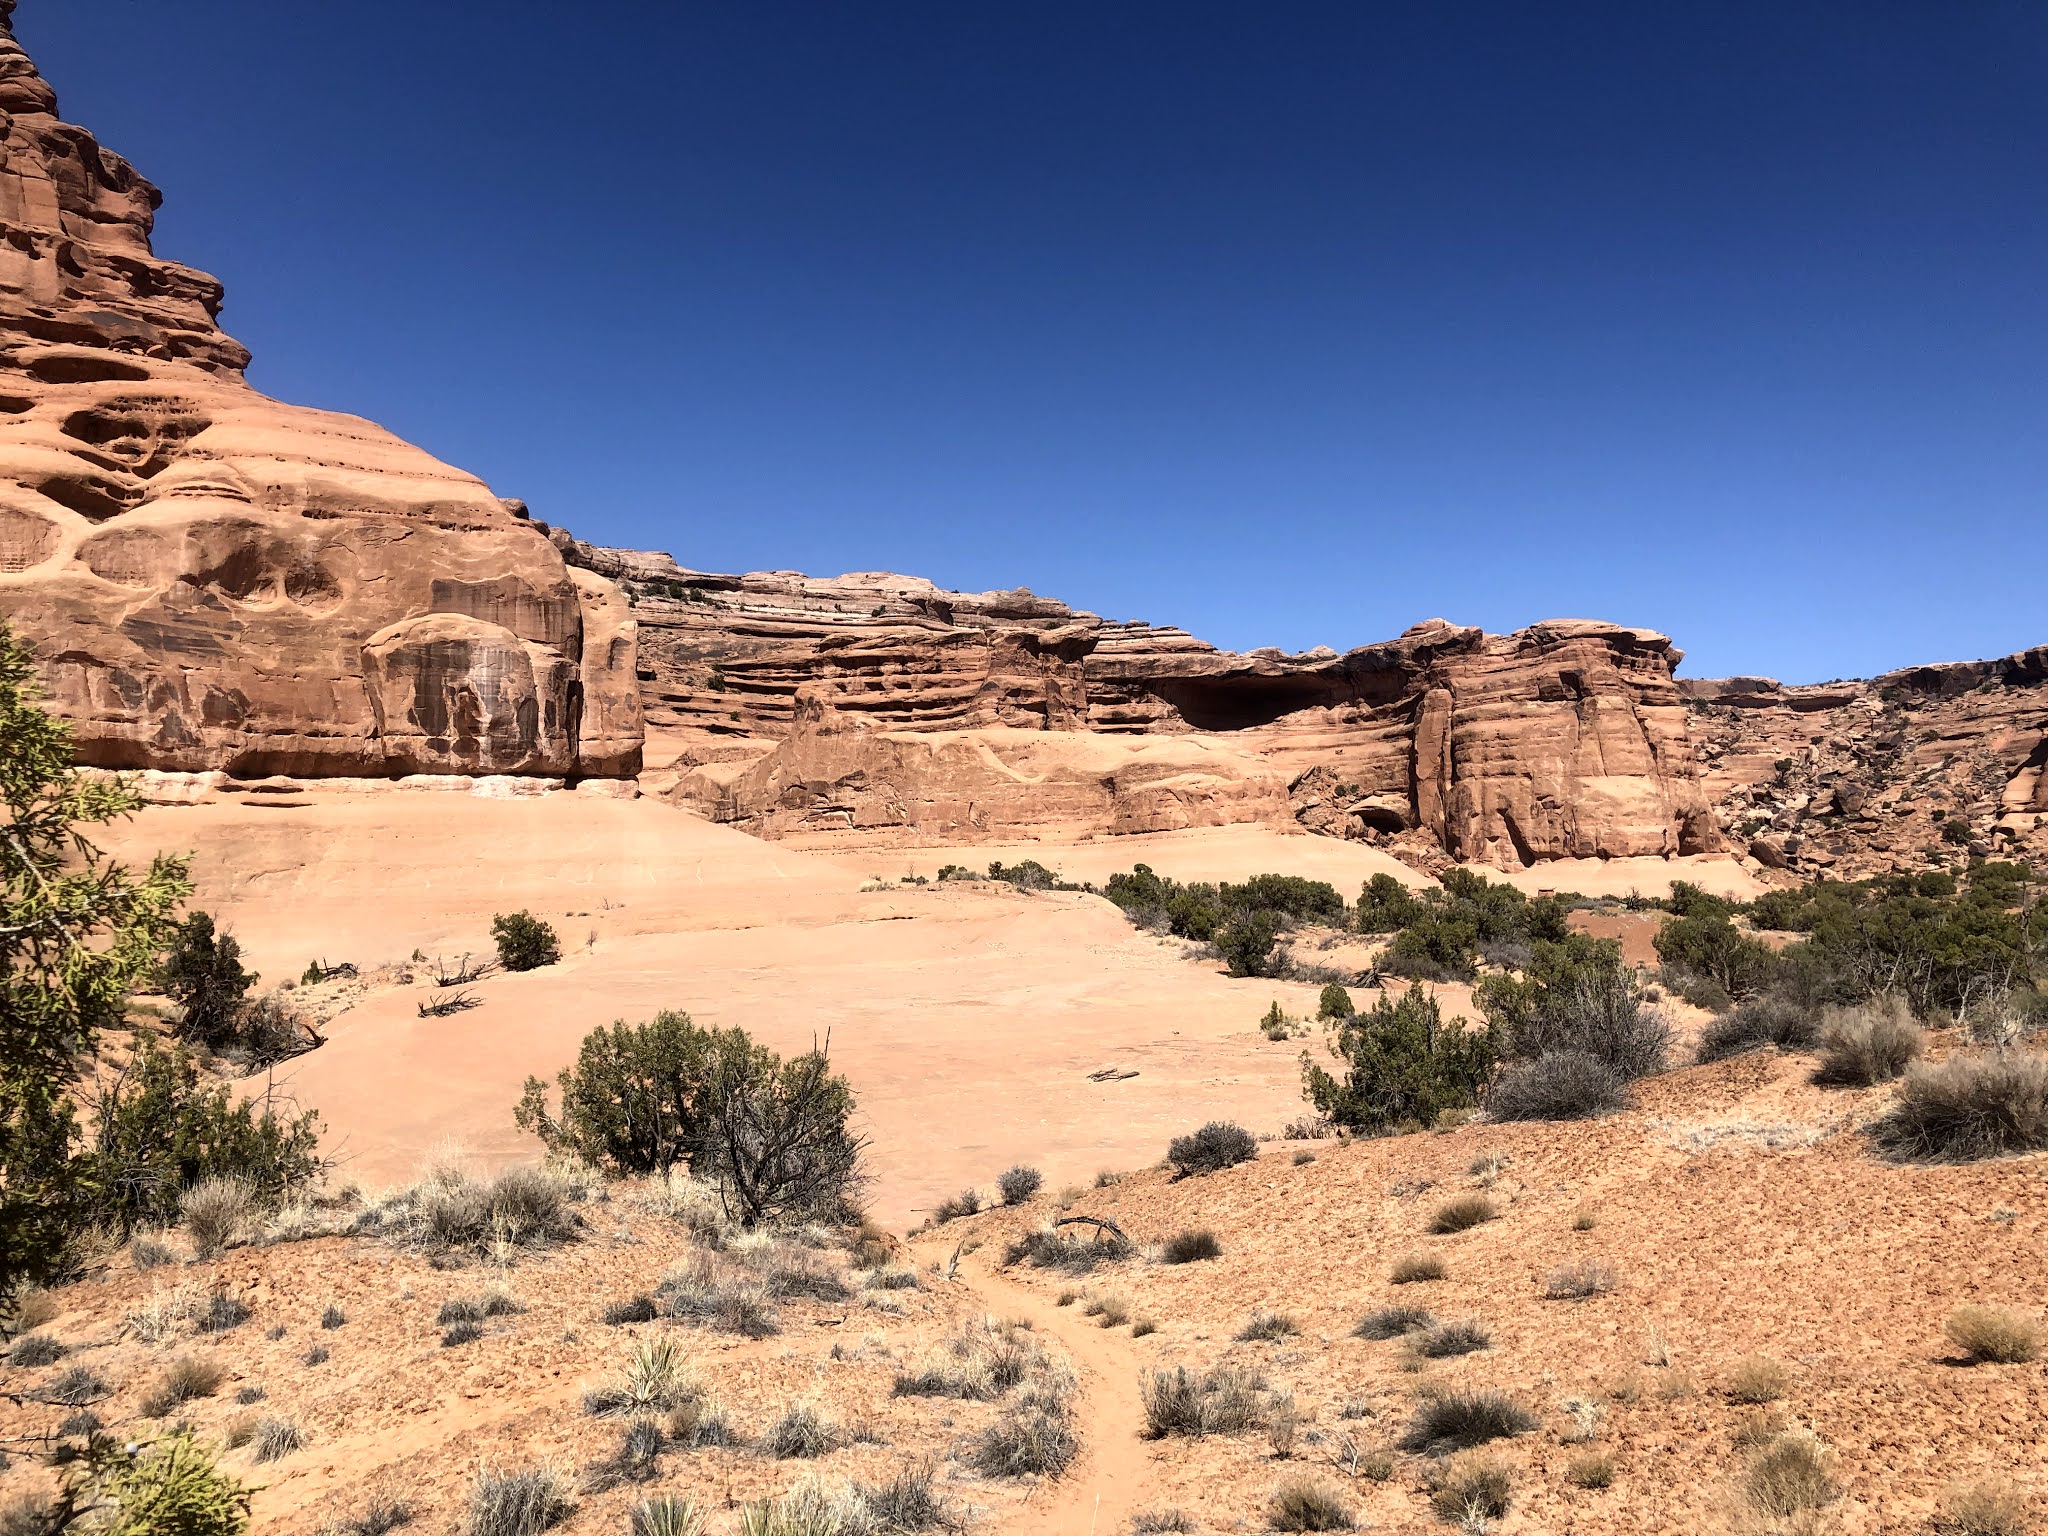
I could get two levels down by using a ramp and a diagonal cut in the second cliff band to reach a shelf. Finding a spot to the next shelf down from there took some exploring, but eventually I found a slight weakness in the form of a depression in the shelf and a lip on which I could park my butt. Lowering the pack with my throw line and jumping down from the lip, I got down one further level. I HATE jumping in such situations! For one, a bad landing and a twisted ankle screws you pretty badly. Second, jumping down usually implies that getting back up is not an option should you hit a roadblock on the shelf you are landing on. In other words you are committing to potentially taking bigger risks further down as you take on a first risk doing something that you’d prefer not to be doing.
Eventually I found a way from this bottom shelf onto the slick rock ramp that led me down to the bottom of the wash and everything was good. But this pushed some of my buttons! You know the kind that has a wire cage over them so that you can’t push them accidentally? And maybe that wire cage is held down with a screw with a weird head, so that you have to go to the hardware store first before you can unlock the wire cage. Just to probe your determination.
I followed a sandy wash over to a slick rock dry creek bed leading through Fifth Avenue up to a viewing point cum parking lot along the Arches NP road.

Crossing the road and walking into the flat area on the other side, I headed Southeast again and eventually came across a pothole in the slickrock with good water. A good opportunity to call it a day. I camped not entirely legally, ok illegally, inside the park as I did not think I would find the next break in the cliff defining the Western border of Courthouse Wash that same evening. Good call!
Next morning I took a bearing to the site where one can get down and it worked out like a charm. There was some minor climbing and crossing of depressions in the slickrock involved first. You come to the cliff edge at the correct location and there is a slick rock amphitheater that I had seen a photo of in an online trip report and I knew I was good. The descent is straightforward, the traverse is too and eventually I found myself on a dirt plain above the dryfalls and cliffs that were the last hurdles between myself and US 191.
There is some serious scrambling to do and there is not only one dryfall, and they are all really big. Unless you can see the highway below, you are not done! Nothing technical at all, but careful attention has to be paid at all times, both to direction and to where you place your feet.
At the far end of the footbridge over the Colorado there is water, garbage collection and restrooms and then you trudge along US 191 into town. If you do not resupply in town, you can cut through to Kane Creek Rd. at the Denny’s. The Kane Creek Rd walk is hot, narrow and full of traffic. Eventually, you reach the BLM OHV staging area where the trail to Jackson Hole takes off. This is a hiking/biking trail that you can take if you do not wish to take the standard route via the Kane Creek Rd over Hurrah Pass with its Jeep and OHV traffic. I detest both, so I preferred the route via Jackson Hole.
The Jackson Hole ladder is one hell of a steep talus scramble along the gas pipeline that services Moab. At the bottom you reach a road that you will be following for the next 30 miles or so to and through Lockhart basin. Until shortly before you reach the Adventure Basecamp lodge you are likely to have the road for yourself, past that you have to deal with OHV and Jeep traffic. It can, alas, not be entirely avoided.


Just South of the Kane County/San Juan County border the road describes a half-circle heading East. Jamal suggests that you cut this off walking X-country. When I checked this out on Google Earth I thought he was doing another of his risky side adventures that typically exceed my risk tolerance. However, when I came up to the point of departure from the road it looked ok and it actually was. First you cross a meadow with more rocks than grass. A wash opens up to your left and that's difficult to get into, but on your right is another and it has a cow trail into it on the Colorado-facing side. Now you just follow the cows until the bovine highway turns right towards the Colorado and you continue straight down a broad ramp that meets with the road.
Linda at the basecamp allowed me to replenish my water supplies and let me rest in the welcome shade for an hour before I continued on to Chicken Corner. Many thanks Linda and Tom for building this little oasis and for your gracious hospitality for Hayduke hikers!
As I continued on towards Chicken Corner the vehicle traffic was really heavy, by Utah backcountry standards, admittedly. In part this is driven by the annual Jeep Jamboree in Moab around Easter and in part by less organized activities of playing Rambo. One jeep stopped and offered me a bandana so that I did not have to breath directly the dust the traffic whirled up. Many thanks, very considerate! If you plan on hiking Lockhart Rd, bring your own, it’s absolutely worth it!
At Chicken Corner the road splits and I headed for the cliffs, away from the Colorado. After a short while before the hairpin curve I found myself in a cul-de-sac with no way out. Backtracking I joined an obvious road not shown on the map but Gaia informed me in short order that this was not the correct road to continue on. After some poking around I identified a steep rocky ramp as the road I needed to be on. That this ramp was the road was not at all obvious. It was just the only other way out of the dead-end and higher up tire tracks confirmed that I had found the road.
Continuing on I rounded a range pointing Northwest. Looking at the map I had wondered whether I could not just cross this range at a low point and Google Earth images, or rather my interpretation of them, indicated nothing speaking against that. The only thing giving me pause was the fact that Jamal had not successfully completed this shortcut, he likes to cut off superfluous miles. Well, when I saw the actual mountains in front of me I just had to laugh. No way can you get up those hills where it would be worthwhile and even if you could, you’d have no idea about how you’d get down the other side. Suck it up and walk the road.
And then came the time to leave the road and follow Nic Barth’s route through the Lockhart cliffs. After my experience with the cliff in Arches, I was fully prepared to find my own way to accommodate my own risk-reward calculus. I found the entry quite easily but soon it was déja-vu all over again. Nic talks about two steep ramps that one can crab-walk down, but the top one was not willing to reveal itself to me as I was pacing up and down the shelf looking for it.
Eventually I saw over far to the right a tower above a dirt cone and a ramp leading to this tower from the rocky shelf below the one I was standing on. Conveniently there was a weakness in the shelf near the ramp and so I could easily get two shelves down. Even further to the right was another weakness and I could get down to the sloping slickrock below. Walking all the way to the left, as viewed from the entry to the cliff, I saw below the yellow shelf I remembered from Nic’s photos. There was a substantial cairn and there was also a steep slick rock ramp down to the yellow shelf! So I had at least managed to find part of Nic’s route. You then contour around a nose in the cliff and you see the half-arch that is supposedly located right next to the cave that you are supposed to climb down through. Alas, no cave! Whiskey-Tango-Foxtrot. The next layer down is made up of deeply black rock and as I was walking around looking for the cave I saw a break in the black rock that allowed me to view the shelf far below that constitutes the end of the cliff climb. And then, out of the corner of my eye, I saw some faint light coming from below and there was the cave! The combination of the black rock and the narrow entrance at the top makes it not quite obvious. Definitely lower your pack on a rope. The down climb is much easier that way, especially for the longitudinally challenged. How Nic and his buddy want to have seen this from Google Earth is not obvious to me, maybe they were just determined to try something. In any case, this variant was a welcome break from the monotony of road walking even though the time savings did not amount to all that much, for me at least.
After spending the night at Lockhart dryfall, I walked the shelf above Lockhart canyon in the footsteps of my Hayduke ancestors to the spot where one can get off the shelf into the canyon proper. I had an incorrect mental picture of where this spot is located and overshot a bit. Right where you go down there are three baskets made of barbed wire filled with rocks. You go down and take a dogleg left to face a rockfall, which you should pass on the left and soon you find yourself at the bottom. I recalled Jamal mentioning a water source in the first side canyon coming in from the right. Sure enough, after a three-minute easy walk you enter a cavern at the end that has some green vegetation at mid-level height on the left. There even is an old constructed ramp to get you there. There’s a hole the size of two fists, filled with moss and there’s water running, well dripping is more accurate. Even in dry ’21 it gave me a gallon in about 15 min collected by ziplock bag (water bottles would be more difficult). It was nice and cold with a slight mineral taste. I used it without any intestinal distress (YMMV), in marked contrast to the folklore about other water sources in Lockhart basin. Thanks Jamal!
As I exited the side canyon into Lockhart canyon proper and saw the road that leads down to the Colorado, the other potential water source about two miles away, I was thankful that I had solved my water problem without slogging through deep sand down to the river and then back again.
I then followed the Lockhart Rd over to Rustler canyon, eventually joining my route from two years ago when I had descended the “striped monster” cliff from Hatch Mesa down to Lockhart basin. I could see it in the distance and recalled my considerable discomfort descending that cliff two years earlier.
The Lockhart road goes up and down and winding left and right, always showing you a stretch of road far ahead, destroying any illusion that this grueling road walk would be coming to an end soon. But, as the saying goes, the salami gets eaten one slice at a time and so a road gets traversed one step at a time. Eventually you reach a large flat area with some residues of a corral and a BLM marker. From there the Lockhart Rd continues due South and another road leaves to the West. Follow the latter for a couple of hundred feet and soon a cow social trail will be crossing the road and will lead you South to the slick rock creek bed into Rustler. Do not step into the creak bed and instead walk on its left bank which will lead you to an earthen ramp on which you can get down to Rustler canyon bottom. The wisdom of cows! The entry to Rustler canyon is right below this rock shaped like an owl's head
Rustler had been bone dry two years ago and it was this year as well. I had high hopes to find some water below the Rustler dryfall, but these hopes were squashed: bone-dry! Two years ago there had been seeps with good water, nothing this year. Two years ago from this dryfall I had been able to hear the Indian Creek roaring in the distance. This year there was eery silence. As I approached Indian creek, the cottonwoods were leafing out and I saw my first Indian paintbrush blooming. Always a welcome sight!
Walking up Indian Creek for about a third of a mile I saw copious evidence of water having flowed, but not a single drop of water to be recovered for the day’s journey. I recalled Jamal mentioning rafting parties walking up from the Colorado to view the Indian Creek falls. Well, if they can walk up, then I can walk down to the river to get water, right? So I turned around and headed down Indian Creek until I reached the dryfall. And I saw the error of my thinking: the rafting parties walk up to below the dryfall and I was right on top, with no discernible way down. The dryfall is about 30-40 feet tall and the cliffs on either side did not look climbable to me. Below the dryfall, though, there was a pool with water. So close and yet so far! Eventually I figured out a way using my throw line, a stuff sack and a rock to retrieve a bunch water to filter for cameling up and for use during the day’s hike.
Heading up Indian Creek beyond the point where I had turned around earlier I passed two small pockets with water black as coffee. Past the point where Indian Creek veers East and right where you can climb out to the South there was another, larger pothole at the foot of the cliff on your right that had excellent water, lots of it and it was much easier to retrieve than the stuff I had found earlier.
I must have blissfully forgotten how long it takes you to reach the bench below the chocolate layer cake cliffs that will take you to “she-will go” canyon. You have to walk around the rim of this huge, deep canyon which has side canyons and said side canyons in turn have side canyons. The crows and ravens are laughing at you as they easily fly straight over it while you add mileage getting ever so slowly closer to where you need to be. Benoît Mandelbrot, the father of fractals, would have loved to see this canyon system!

I did not find the spot where I had entered “she-will-go” canyon two years earlier, which I recall to have been rather convenient. Eventually, though, I found a way through cracks between huge whitish rocks that make up the top layer of the rim of the canyon. From below these rocks I found a dirt/talus ramp down to one shelf that I could walk out towards the Southwest until a convenient way offered itself to get to the canyon bottom. Next you walk up to a deep canyon with a slick rock bottom, some 50 feet below you, that runs Northwest towards the Colorado. You follow it upstream in a Southeasterly direction as it gradually becomes shallower. Right where there is a weakness in the canyon rim that offers you a way down, there is a huge pothole below a dryfall that will take care of your water needs.

Jamal suggests that a little further upstream you enter a side canyon and climb up to its rim for a view of the loop of the Colorado. In late afternoon/early evening I started to do so. When my progress seemed slow I dumped my pack and continued on. What you do not appreciate when you are at the bottom of the wash is that, set back from the cliffs you are seeing, there are further levels to climb and then more levels. Eventually I gave up as dusk could no longer be denied and also because a fierce wind had sprung up.
I had unfortunately neglected to enter a location point in Gaia for where I had dumped my pack (will I EVER learn?) and so a mildly panicky half hour ensued as I searched for it. In the end I recalled the nature of the rock in the area where I had dropped it and focusing my search on that layer where this form of rock predominated led me back to it. Phew!
The wind continued to pick up and the temperature plummeted. I decided not to put up my tent as the wind would be playing with it all night and instead found myself an alcove to set up my camp. I woke up when the wind had reached ~30 knots and started to mess with my camp items that I had not put back in the pack. As I sat up the wind grabbed my sleeping pad and went off with it. As I got out from under my quilt to pursue the sleeping pad the wind grabbed the quilt and made off with it as well. Luckily it wrapped itself around a bush and I could retrieve it in short order. The pursuit of the sleeping pad was in vain, I only found it the next morning in a drainage some 30 yards away. This forced me to spend the night on a sheet of 3M window wrap as “insulation” from the ground. My sleep in the backcountry is always crap, but this was the crappiest night that I have had in a long time.
Next morning the temperature was a good thirty degrees below what it had been the previous day, but the wind had calmed down at least. Heading up “she-will-go” canyon I passed another substantial pool below another dryfall. Then comes a confluence of about three washes and you have to pay attention to follow the correct one, not the most obvious one. Once you have picked the correct one the rest of the way to Canyonlands NP/Needles is straightforward. Shortly before you hit the park border you climb up a dryfall and you are done. You are greeted by a sign post that tells you all the things that are prohibited in the park. It’s almost like Switzerland: everything that is not compulsory is verboten. I fully expect there to be a RFP for a pictogram that forbids “fun”, all they are looking for is someone to design a sign.

I headed over to the ranger station for updates on the water situation and had a very good interaction with a young ranger who knew her stuff. Ranger Ruff McGruff that I had to deal with two years ago was not around. Next over to Needles Outpost where I had a cache of food and fuel waiting. Caleb and Amber were not around, so I could not thank them for being so accommodating and supportive of Hayduke hikers. A two-token hot shower was my reward for making it this far. Soooooooo good! There was even enough hot water to distribute the accumulated dirt in my hiking clothes more evenly over the entire surface of the fabric rather than having a few particularly dirty patches on my pants and shirt.
Some comments:
Jamal's “Behind the Rocks/Hatch Mesa” variant is vastly preferable over the tedious Lockhart basin route. Hands down and without question. "Striped monster" be damned!
If you use caches and place them yourself, you might want to consider caching some water at the head of Rustler canyon accessible via the Lockhart Rd from the road that leads to Needles.
Needles to Hite
I did not have backcountry permits for Needles as all camping in the areas I intended to pass through is in designated campsites only and these permits get snapped up months in advance. The plan therefore was to get up early in order to have the best chance to make it to just outside of the NP Southern border. Shall we say that this did not happen? I slept like a baby making up for the disaster of a night I had had the previous day. I rolled out of the outpost at 8 AM and found my way to the S****campground partially x-country and partially following roads. There I loaded up with water, dumped some trash and headed for the TH. I followed the Big Spring canyon trail to a junction with Elephant Canyon. There I dumped my pack and headed South in direction of Druid Arch to collect water at the spring shown on the relevant maps. This would have to be sufficient for the rest of the day and the following one as the Southern end of the park and the land beyond are otherwise bone dry.
I made a mistake there owing to using two apps for mapping, Caltopo for paper maps and Gaia for my electronic ones (after the latest "update" the Gaia print maps suck donkey balls). Somehow I had managed to plot different routes in the two software packages and the water collection ended up a bit more cumbersome than it needed to be. I should have kept the pack on for another mile to mile-and-a half where there is a trail leading up to Chesler Park. Instead I had to trudge up more of the wash back to my pack to then take a different trail eventually leading to Chesler Park and then around it.


In late afternoon it was clear I would not make it out of the park by nightfall and I started to plan for stealth camp opportunities instead. I made it through the Joint trail which is a barrel of fun. As Andrew Skurka says in his little video of his Hayduke hike “This is why we go hiking!” Yup, that captures it perfectly. You are squeezing through this man-width slot in massive rock for a couple of hundred yards. In the middle of it there is a dryfall that has a “ladder” consisting of a log with notches cut into it. Yours truly turned himself around and climbed down this thing fishing with his foot for a foothold. When I thought I had found one and put weight on, the ubiquitous sand acted as grease and the hoped for support did not materialize. I sank further backwards and slowly but surely fell down the dryfall. Luckily the slot is so narrow that I could really build up any momentum as I fell. I basically scraped down one of the walls and then I hit the ground. I got lucky there.
Past the Joint trail you cross a wash and I walked up this wash, entered a side wash and camped there in stealth mode for the night. Next morning I walked out of the wash to the Joint Trail TH and from there to the road which I followed South out of the park. I think I was lucky that the road was temporarily closed for repairs and all camping permits in the area had been cancelled. As a result there was little need for a ranger to run patrols down there.
Soon after you leave the park the road climbs incredibly steeply up a 4 WD drive road in two increments to enter a giant meadow known as Pappy’s Pasture. You walk a sandy road for somewhat more than an hour and then a side road takes off to the right towards Homewater Spring. The maps show a ruin close to where the road splits off, but I did not see anything that could be interpreted as a ruin. The road South appears not to be much used and features a “cow single track” that the animals have laid down. They cut off all switchbacks and go for it. Eventually you walk down into a wash passing a green dry metal trough in an area where some water seeps out of a hillside. Don’t be disappointed, this is not Homewater Spring. Descend all the way to the bottom and follow the cow trail some 30 yards up the other side and there you’ll find two troughs with water fed by a pipe from a spring somewhere nearby. Good tasting, cool water and a very decent flow!


I walked out the wash to a large meadow which led me in straightforward fashion through Beef Basin to Fable Valley TH. A well-developed trail takes off from there, climbs, descends and contours and after a while you enter Fable Valley itself, home of the famed side canyon that you have to get out of to reach Youngs canyon. Lower Fable Valley is easy to walk on slick rock or a berm that divides the valley lengthwise. When the first signs of reeds appear make sure to head to your right (LUC) to the dirt slope above the valley bottom. If you stay in the bottom for too long you are going to have a devil of a time pushing through the reeds and the brush in the form of mostly dead vegetation of very limited flexibility. For once I did not have to learn from experience!
The side canyon is relatively easy to walk in and when water appears there is some sort of use trail that leads you to the first major dryfall. Collect water at the spring before you start climbing, it may well be the last you see before Youngs canyon!

Fable Valley dryfall #1
The dryfall had looked way more intimidating on Google Earth than it did “in person”. There was a bit of a use trail starting at the bottom left (LUC), which I left when I spotted an opportunity to scramble along a crack in the rock in direction of the dryfall and a little bit more off-trail scrambling brought me to the lip of the first dryfall. Right behind it, invisible from the bottom, was the second dryfall with a third one right above. The second I could almost climb up on, but almost is the operative word here.

Fable Valley Dryfall #2 & #3

You'd think you could squeeze up on the right, but it was just a touch too steep for my shoes to hold. Eventually I just pushed up my pack and then scrambled up the cliff on the left and retrieved my stuff from above. The third one was easier and then I could follow the creek bed for a while until I encountered the next obstacle.

Fable Valley dryfall # large and positive
All in all you have to overcome on the order of ten dryfalls. Some you can climb easily, some with some exposure and others you have to walk around on either side. If you are patient, are not looking for an adventure and look carefully you can find a single track path around most of them. When you think that you are done you will discover that, set far back, there is a cliff to overcome. You will be finding yourself in the trees. The visibility of the cliff is not that great and the decision where to try to get up not that straightforward. I latched on to an elk trail and my hope that this would lead me easily to Horse Pasture mesa turned out to be warranted. The animals have been going up and down for a long time, no need to try to invent something new here, late after an exhausting day.
I crossed the meadow on top and eventually reached the road shown on the map which I followed to the dry earthen tank. Past the tank to the South a road takes off to the right which I followed until it started to descend into a canyon. I camped there for the night, protected by pinion from a persistent cold wind.
Next morning I descended along a rough road onto a Horse Pasture heading Southwest until a wash opened up on the right. Entering and following this wash brought me right to the first dryfall in Youngs canyon and, as promised by Jamal, there were two large potholes with most delicious cold water right above it. Yeah!
The upper part of Youngs is pretty straightforward, all of the minor dryfalls (10-15’) one can walk around. I found myself to the right (LDC) of the main wash on a single track and that’s not where you want to be. When you reach a giant patch of reddish/pinkish slick rock or you reach the 6825 ft marker shown on all maps (a pipe surrounded by a pile of rocks), you have gone too far. The walk around for the next, giant (~ 50+ ft) dryfall is on the left bank of the wash and I don’t think there is a way down, or at least I did not see it, on the right side.

The trail leading out of the wash is easily followable, I just found my own way through the last cliff band where I came across the last patches of snow in North- or East-facing notches. On top you will find a clear single track leading through the backcountry broccoli, aka cryptobiotic soil crusts. Stay on this trail or Puppy, the high-priestess of crypto (the soil, not the coin, alas) will come and bite you.

Backcountry brocccoli, more formally known as cryptobiotic soil crust,
a symbiosis of cyanobacteria and fungi important to stabilizing the soil,
enriching it in nitrogen, preventing erosion and laying the foundation
for higher plants to grow.
Eventually you reach a major cairn marking the point where the descent begins. Take a breather here, the next bit you may find to be tough.
You first descend some 150-200 feet to the bottom of the side canyon through loose talus. Take your time here, some of these rocks are not as stable as they look. You then traverse to your right towards the “thumb” next to which is a narrow down climb that gives you a way through the cliff. A brief pause before you enter is well advised, the next bit may be a tad nerve-wracking for some. So you climb down and then at first rather easily contour North, the direction you came from, under the cliff band to your right. Very far below you see the bottom of the wash, in the middle distance some residues of an almost completely eroded cliff band. Count on heading North for about 200 yards at which point you have bypassed the remnants of the cliff below and you can take aim for one of the dirt/talus ridges that can get you down. There is a use trail somewhere as I saw when I had already descended the slope halfway. I did not know that it existed, so I was not looking for it. Finding your own way down is not that much fun that it would not be worth your time to find the location where the use trail heading down takes off from the contour you are on.
At the very bottom I heard water gurgle in the reeds, which was most welcome. The valley bottom is brushy and slow to walk along unless you find and manage to stay on the use trail. After a while the trail climbs out again on the left to start the bypass of major dryfall #2. The trail leads through fields of backcountry broccoli, so be a good citizen and stay on it. The trail runs right next to the abyss to your right and at one location there is yet another narrow down climb that is difficult to see from the trail. There is a cairn, but I did not interpret it to indicate that that’s “the spot”. What I can tell you is that if you see another “thumb” below on your right, you have gone too far.


The down climb is short and then you traverse towards the thumb just below the upper cliff for a 2-300 yards. About 100 yards from the “thumb” you start to descend towards it, arrive at a little plateau where you can catch your breath. Another talus down climb follows. The use trail eventually contours to the right. I was so done with talus scrambling that I got the hell out of Dodge and headed for the giant dryfalls below, down climbed them in sequence (not recommended for the longitudinally challenged) and entered Youngs canyon slightly West of where the use trail returns to Youngs.
All in all not exactly technical, but exhausting nonetheless, mentally especially, as you have to watch your feet and the terrain like a hawk.
The bottom of Youngs is a bit brushy for a while, but I found a way to squeeze by most of the obstacles on the left margin of the valley. Then there is another talus slope to navigate, but that one is nothing to write home about. The rest of Youngs is an easy stroll and then you see Dark Canyon coming in from the left, the valley opens up, there are cottonwoods and you start criss-crossing the more substantial stream back and forth. After a while you start walking on ledges on either side of the stream.
 Youngs canyon near junction with Dark canyon. you made it!
The grey rock is a composite of smaller bits of older rock incorporated in the bulk rock. I am always fascinated by the variety of rock one can see in Utah and I get to regret that my knowledge of geology is sooo piss-poor!

Farther downstream the lowest level of the rocky creek bed becomes blocked by pools. You have to be either much better insulated than I am or have much higher cold tolerance than I have to try to wade through these in April (and I am convinced that some pools are too deep to wade through and I at least can’t swim with a pack on my head or back).
I found one spot, after I had backtracked from a pool blocking my way, where I could climb up one ledge on the left. Alas, as a solo hiker you have to be about 6 ft tall to get your leg up high enough to pull yourself up. Shorter people will likely have to backtrack further. You can get up either on the left or the right ledge. Further down there are opportunities to get down again from either side.
I spent the night about half a mile from the bottom of the Sundance trail at an established campsite, mercifully without an associated band of merry microbears trying to steal my food. Next day I waltzed up the Sundance trail (see what I did there), or rather “trail”. Finding the bottom of it was an exercise in itself. I found my way up the dry creek bed, but that sounds like less of a scramble than it was. Later from way above I saw something that looked like a use trail on the Southern bank. Maybe you want to give that a try.

The Sundance trail goes up this 1200 ft talus slope. You are standing at the bottom and ask yourself Whiskey-Tango-Foxtrot, what is this? It’s a mess and you’ll be dealing with it for the next 90 to 120 min. There are probably several “trails” in that hillside that intertwine and every Tom, Dick and Harry has put up some cairns. I ended up ignoring them and instead kept my eyes peeled to the ground and made decisions on where to go in increments of five feet worth at a time. Make sure to camel up at the bottom and to carry more water than you think, or would like to think, you need. There’s no shade and you get cooked until you reach the plateau at the top where there are pines and pinions that provide some cover as you rest. At the very top is a wide plateau with a ring of cliffs set far back. You will be walking across slick rock for about 45 min while describing a wide arc to reach a spot where you can overcome the cliff and then you hit the road that leads to Squaw and Papoose Rock. You don’t have to walk the road, there’s also a single track through the cryptobiotic soil crust garden. Stay on the trail or Puppy will nip you at your ankles!
Once you hit the road near Squaw and Papoose Rock it will be road walk all the way to Hite or the highway bridge across the Colorado. It’s exposed open country, hotter than all blazes. Most guides and reports with tell you about a pothole in a wash you’ll be crossing. As you approach this wash you’ll see cow social trails coming from all over heading with laser-like focus towards this wash and said pool. From the road you walk some 50 feet onto a rocky dryfall ledge and look below:
a sizable pothole filled with a slurpy of cow shit and cow piss with an overpowering stench of ammonia. I thought I had seen bad water in NM on the GET. I had seen nothing yet! Yes there’s water, but piss is 95% water, too, as is vinegar. It’s the 5% non-water constituents that determine whether you can or will force it down. I decided that it was not potable, even though I did not have much water left. That’s why I advised earlier to schlepp up more water from Dark Canyon than you think you’ll need.
In my case the old saying “the trail provides” kicked in when two guys with bikes strapped to the top of their car pulled up. They were very gracious in sharing their water supply (they were just starting and were flush) and topped the water off with a can of beer, which really hit the spot. I got lucky there, they were the first humans I had seen since leaving Needles.
And then it happened, on a steep section of road made of compressed mud with ball bearing split rock on top, my right foot did not get traction and slipped forward, my left leg gave in and the pack pulled my upper body back. I ended up with a fully extended left foot under my butt, my butt on the heel and my lower leg bent back 180o. A classic! A very painful one to boot. I dragged my sorry ass along this road to the highway, down the highway to the road leading to Hite marina and down this side road to the marina store and then the camping lot. Those two-and-a-half miles took all morning. My knee swelled up to roughly one-and-a-half time its normal size and my ankle was, and still is, bitching at me nonstop.
I spent the night at the terrible and expensive campground. There is no shade, there is no shelter from the wind that picks up late in the PM and batters you all bloody night. In the morning I decided that I could not possibly spend a couple of days down there trying to see whether my limb would get sufficiently better so that I could continue. (A week and a half later the knee is ok, the ankle is still sore and tender). So I pulled out, was extremely lucky to get a ride from Hite to Green River on the I-70 corridor, some 90 miles, from where I made my way back to Denver via Greyhound. This is the Las Vegas-Denver bus and same-day seats are not always available. You can also take the California Zephyr to Denver if you are in Green River sufficiently early.
See you next year Hayduke!
Brings to mind the poem by Joachim Ringelnatz:
In Hamburg lebten zwei Ameisen,
Die wollten nach Australien reisen.
Bei Altona auf der Chaussee,
Da taten ihnen die Beinchen weh,
Und da verzichteten sie weise
Dann auf den letzten Teil der Reise.
Two ants living in Hamburg
Wished to travel to Australia.
On the highway in Altona
Their little legs started hurting
And they abandoned, wisely,
the rest of their journey.
Some lessons:
I have never been a fan of hard-sided water bottles. However, on the Hayduke either the brush or the rillenstein rock did punch holes into both of my Japanese Evernew bottles that I have had good luck with for thousands of miles (more robust than Platypus IMHO and you can't lose the cap). It may be time to reconsider my assessment of hard-sided bottles for when I return.
I cached water in collapsible 5L containers (~ $ 3 apiece at amazon) because they would be easy to carry out, both weight- and volume-wise. The plastic is a bit thicker than that of Platypus bottles and the bottles are a lot cheaper. Without fail, though, they were chewed on by microbears in the two weeks between my placing the cache and picking up my supplies. The quest for a suitable water container for caches continues. I don't want to have to place the water in buckets, like my food, because then I might need two buckets and that's just too much to carry out, in volume mostly. Backpacking light has threads on this, but nothing applicable to thru hikers has come up.